
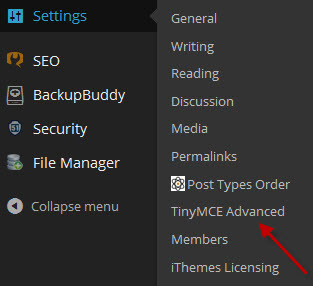
After TinyMCE Advanced has been installed you will need to adjust the settings to meet your needs. The settings for TinyMCE Advanced will found in your dashboard in the “Settings” menu.
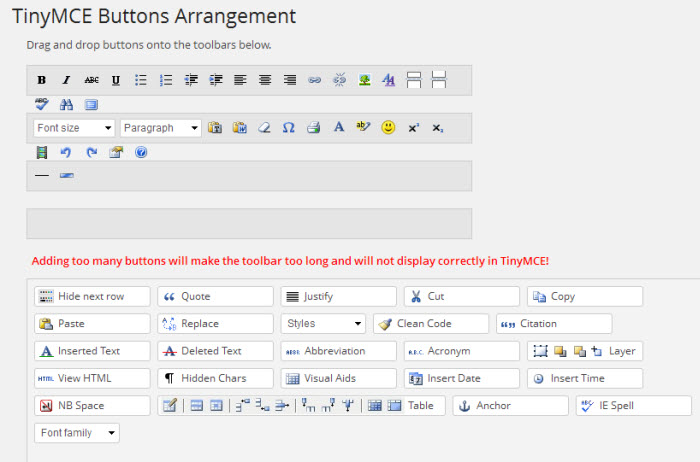
When you are at the settings screen the 1st time, it will look something like the following image.
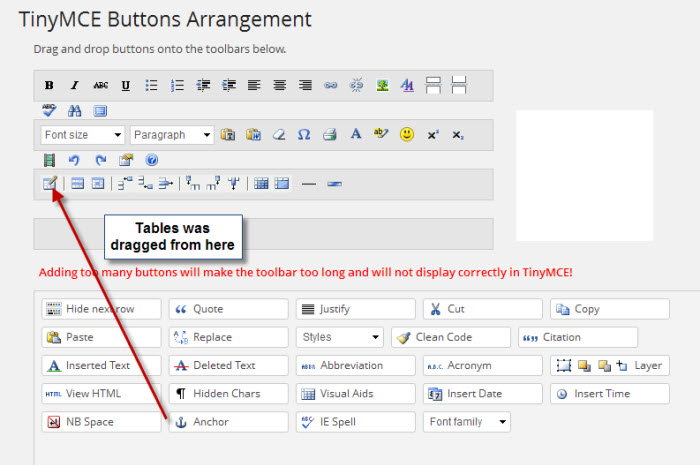
 Now to add additional capabilities you will drop an icon from the bottom set of icons to one of the rows in the upper set of icons. Here I am inserting table capability.
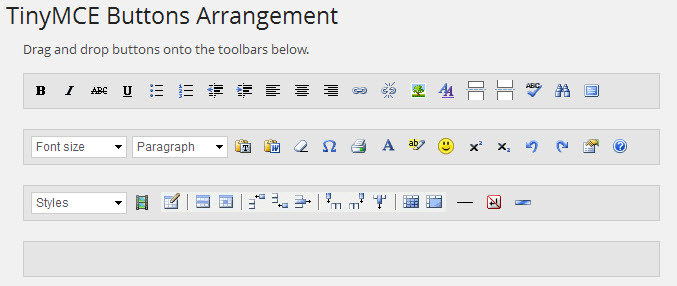
 Now do the same for each additional capability you desire. This is my completed toolbar.
 You may want to enable “Advanced Image”, “Advanced List Options”, and “Context Menu”. You will need to play with these settings to see what you want. Here is my setup.
 When all done with changing your settings, be sure and click on “Save Changes”. Now you are ready to start editing your post and pages using the features from TinyMCE Advanced