
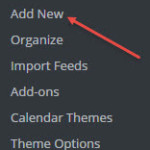
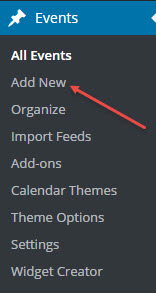
To enter a new event into the All-In-One Calendar click on “Events” and then “Add New”.
When clicking event the following page will appear:
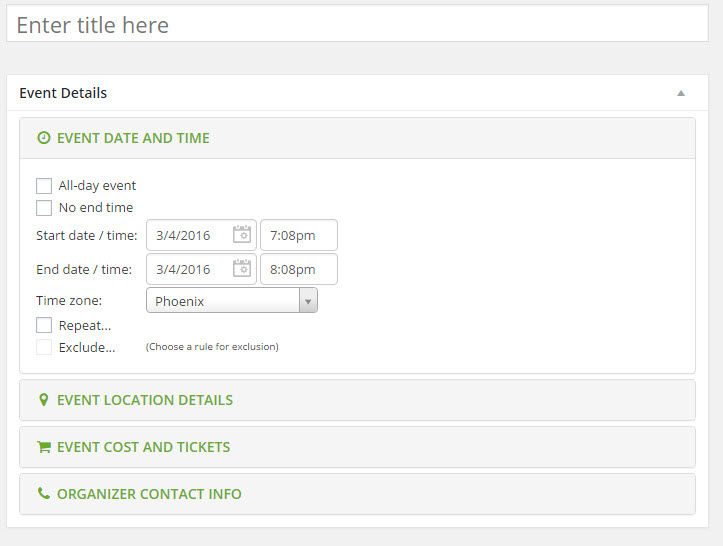
Starting from Top to Bottom:
- If the entry box for “Event Date and Time” is not open, click on it do the following steps.
- Enter the name of the event where it says “Enter title here”
- If this is an all-day event, click on All-day event, otherwise leave it blank
- If there is No end time for the event, click on “No end time”, otherwise leave it blank
- Click on the little calendar button inside “Start date/time” to set the start date
- Click on the time and this will give you a drop down to select your starting time
- Do the same for the “End date/time” as done in numbers 4 and 5. (This will be your ending date and time.)
- If the timezone is different the default, then click on the drop down arrow and select the correct timezone.
- If this is a repeating event, clicking on Repeat will bring up a popup for selecting the pattern.
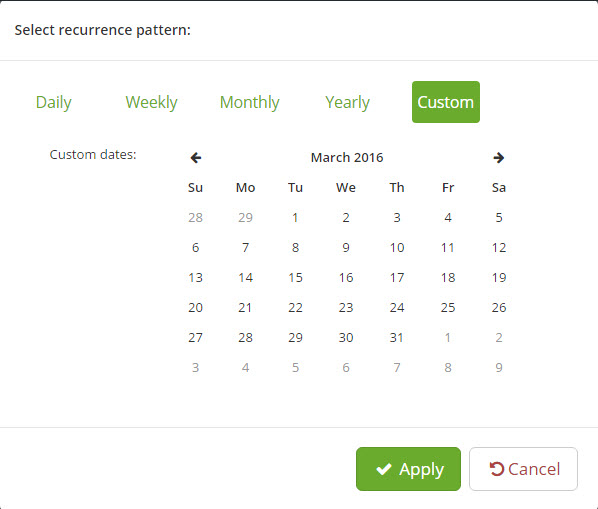
- Now select how the repeat is to be done. This can Daily, Weekly, Monthly, and Yearly or Custom.
- For Daily, how many days is the event to occur
- For Weekly, select the day of the week the event is to occur
- For Monthly you will select either the day of the month, or the day of the week. Then select the day of the month.
- For Yearly, select the month of the year.
- After make the selection for the day the repeating event, at the bottom is when will it end. The can Never, after so many occurrences, or on a specific date.
- When done click on “Apply”
- Click on “Event Location Details” to open up the entry box.
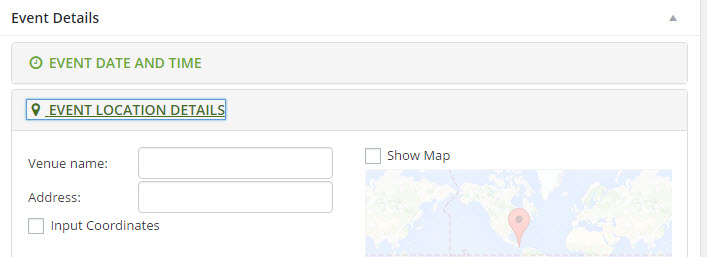
- In the “Venue name” enter the name of the location where the event is going to be held.
- In the “Address” enter the address of the location in the format; street number and name, city, state, zip code
- If done correctly, a small google map will appear. If you want to show the map in the event details, put a checkmark in the box for “Show Map”.
- If you desire to enter the location by Latitude and Longitude place a check mark in the “Input Coordinates” box. This will open entry boxes for Latitude and Longitude.
- To enter costs for the event click on “Event Cost and Tickets”
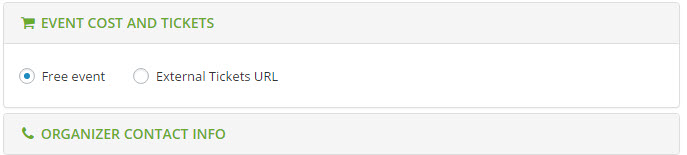
- If there are no costs associated with this event, leave the “Free event” selected
- If there are costs for the event that will required tickets, click on “External Tickets URL”. This will open a box for entry of the ticket cost and a link to will the tickets can be obtained. (Note: If there are costs associated with the event but they do not really fall within these two categories, leave the Free event selected and write up the costs in the event description.)
- To Enter the organizer information, click on “Organizer Contact Info“.
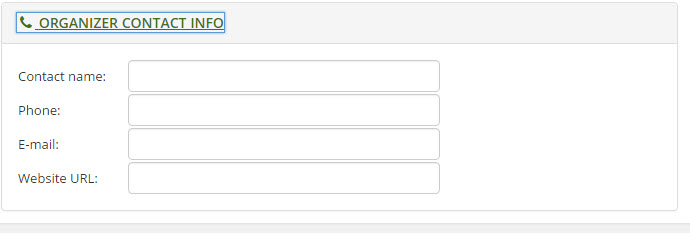
- Here you will enter the contact name for event, his/her phone, email, and any link to a website if it exists.
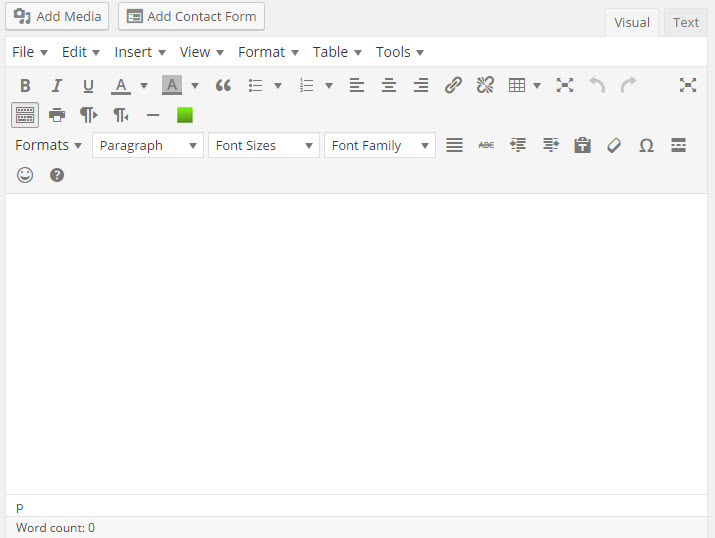
- If you desire to enter additional details regarding the event, enter them in the description area of the event entry page.
That’s all there is to it. After the event details have been entered, be sure and click on “Publish” to save your event. After the event has been published, it should be viewable in the various views.
After an event has been published if you desire to create a similar event you can go into “Events->All Events” and clone it which will give you a new similar event.. You would then go into that new event and make the needed changes.