
Now that you have the plugin loaded and theme selected, it time to make some minor adjustments in the settings page.
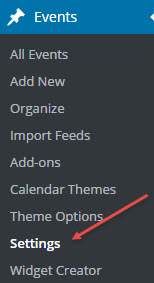
To access the All-In-One Settings, click on “Events” and then click on “Settings”.
When you open the page of settings, the first tab is “Viewing Events” followed by “Adding/Editing Events”, and “Advanced”.
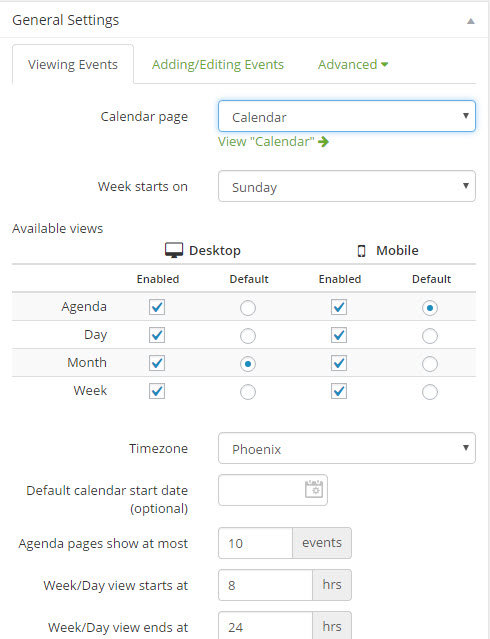
- In the tab Viewing Events the first setting is the name of the calendar page. If a calendar page has not been created for you, go ahead and create one and then come back to here. (You can choose any name you desire.) In the “Calendar page” drop down, select the page that is to be used for the calendar.
- The next item to select is the “Week starts on”. The default is Monday, in most cases, this is changed to Sunday.
- The next item to select is the default view for the calendars. I usually select Month for the Destop and Agenda for the Mobile. Again, this is up to you.
- Next you will select the Timezone that the calendar will be displayed in. Click the drop down to get the list.
- Next you the number of events to show on the Agenda. I usually use the default of 10.
- The next two items are up to you. These set the start and end hours for the Week and Day views.
The following selections are to future customize how the calendar presents its data.
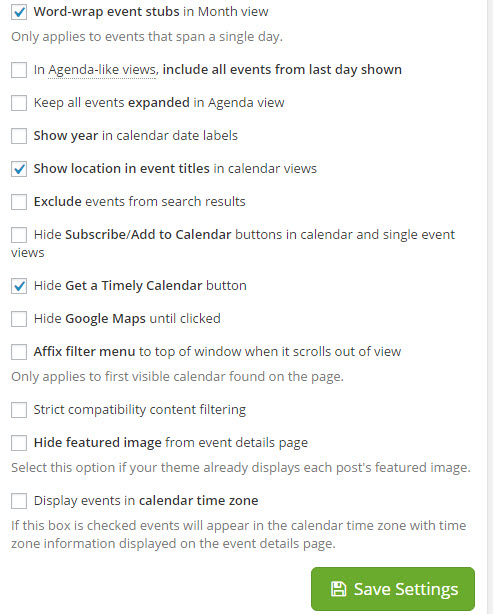
- Word-wrap will wrap the title of a single day event in the calendar. Unchecked will truncate it.
- I usually just check the boxes that are shown in the above image.
- Lastly, after you have made your changes, be sure and click on “Save Settings”.
Now for the tab “Adding/Editing Events”.
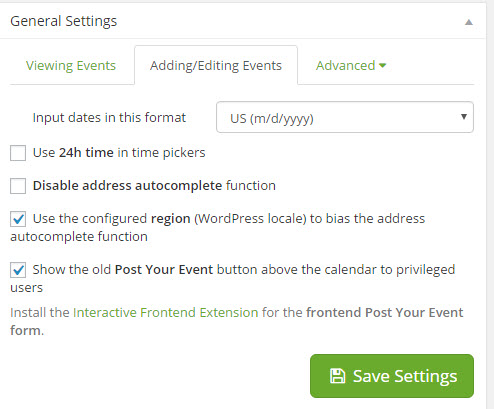
- First thing to set is the format for the input dates. US is m/d/yyyy.
- Again the settings shown in the image above is the most common settings.
- Don’t forget to click on “Save Settings” if any changes have been made.
The last tab is the “Advanced” Tab. This is for advanced users and I do not make any changes here. I just use the defaults.
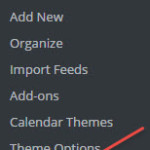
After the settings have been completed your calendar should be ready for use. At this point you may not like what you see, so you will start playing with the colors, fonts, etc. Most of this can be accomplished my adjusting your settings in the Event->Theme Options. In some cases you may need to make the desired changes using CSS.